How to print a JPG on A4 without cutting off the edges
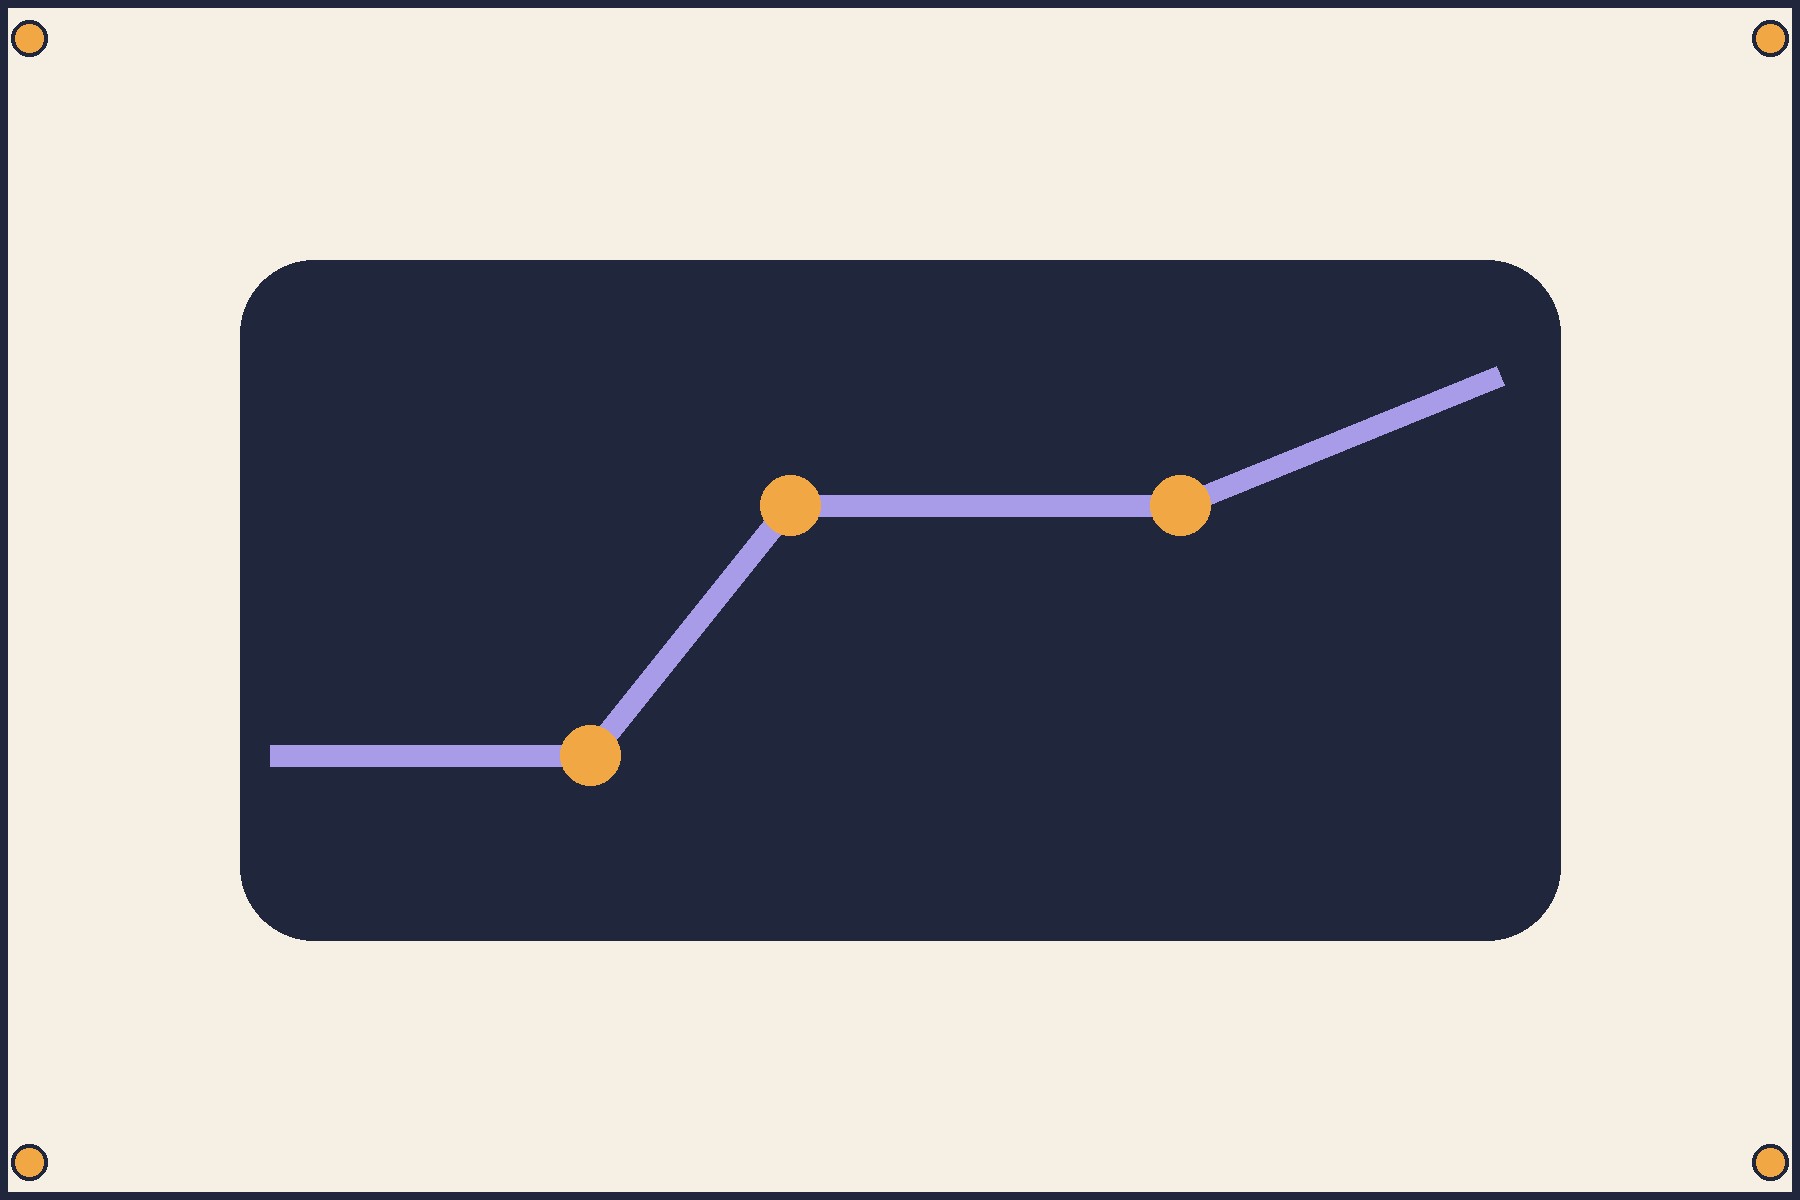
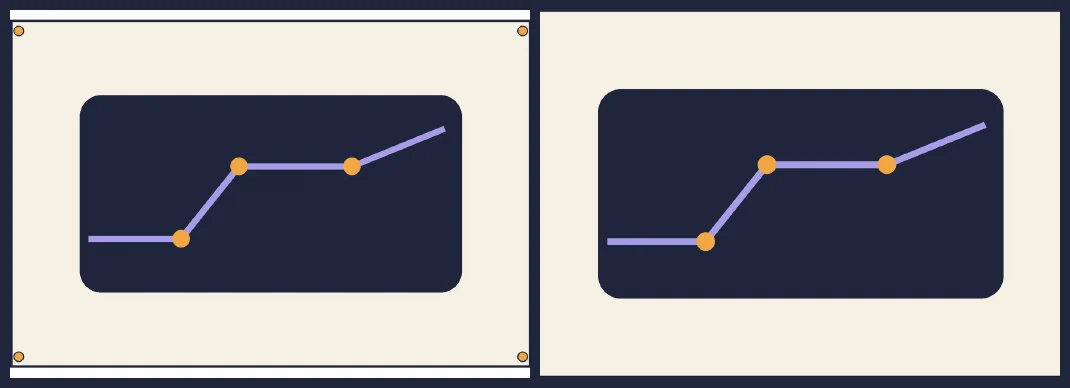
Compare two PDFs made from the same photo. Only one keeps all four corner marks.
A route number sits right at the edge of your map. It's visible in Photos but partly missing from the PDF. Before editing the JPG, check how the print dialog is fitting it to the paper.
Where the missing strip went
Our 1,800 × 1,200 photo has a 3:2 aspect ratio. Landscape A4 measures 297 × 210 mm. Fitting the width gives a 297 × 198 mm image with 6 mm above and below. Filling the height makes it 315 mm wide, cropping 9 mm off each side when centred.
Save a PDF with the whole photo
- In Preview on a Mac, choose File → Print, A4 and landscape. Under Scale to Fit, select Print Entire Image. Open the PDF menu and save a copy.
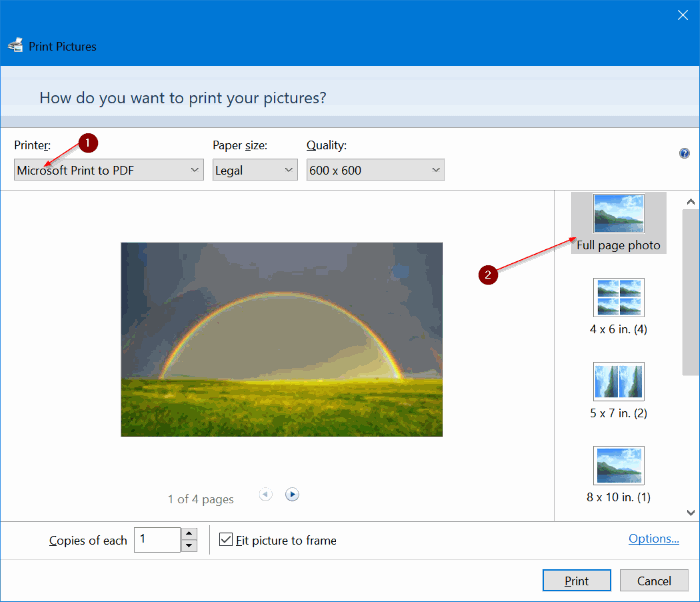
- In Windows, right-click the JPG and choose Print (under Show more options in some versions). Select Microsoft Print to PDF and A4. With a full-page photo layout, clear Fit picture to frame and inspect the preview.
Check the PDF and the printout
Reopen the PDF, check its page size and look for all four circles. On real paperwork, check signatures, stamps and page numbers. Wide margins can mean the page orientation is wrong.
If a mark survives in the PDF but disappears on paper, fit the PDF to the printer's printable area and try one sheet. For a scale drawing, measure a reference line on the printout.