How to get a photo under a 200 KB upload limit
A file-size limit and a minimum width are two different requirements. Decide which setting you can afford to change before exporting.
If the photo is barely wide enough for the form, keep its pixel dimensions and lower JPEG quality first. A 4,000-pixel camera photo gives you more room to work. If the form only needs 900 pixels across, try resizing a copy before lowering the quality.
Two JPEGs under the limit
We exported the same Apollo 17 Earth photo three times from one source with ImageMagick and 4:2:0 sampling. The enlarged crops show the same area. Open the full JPEGs to compare.
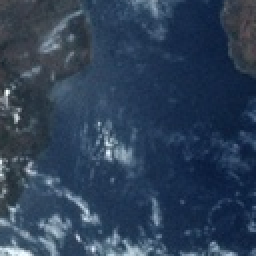
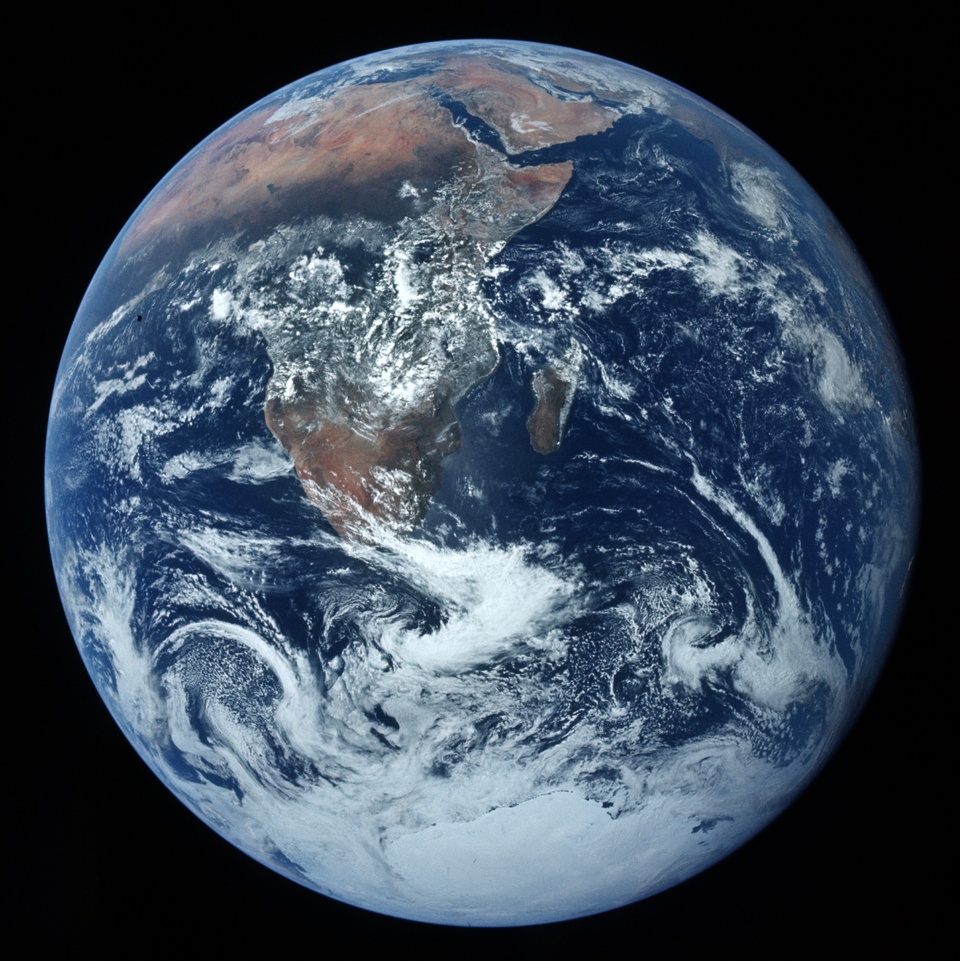
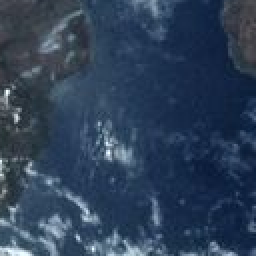
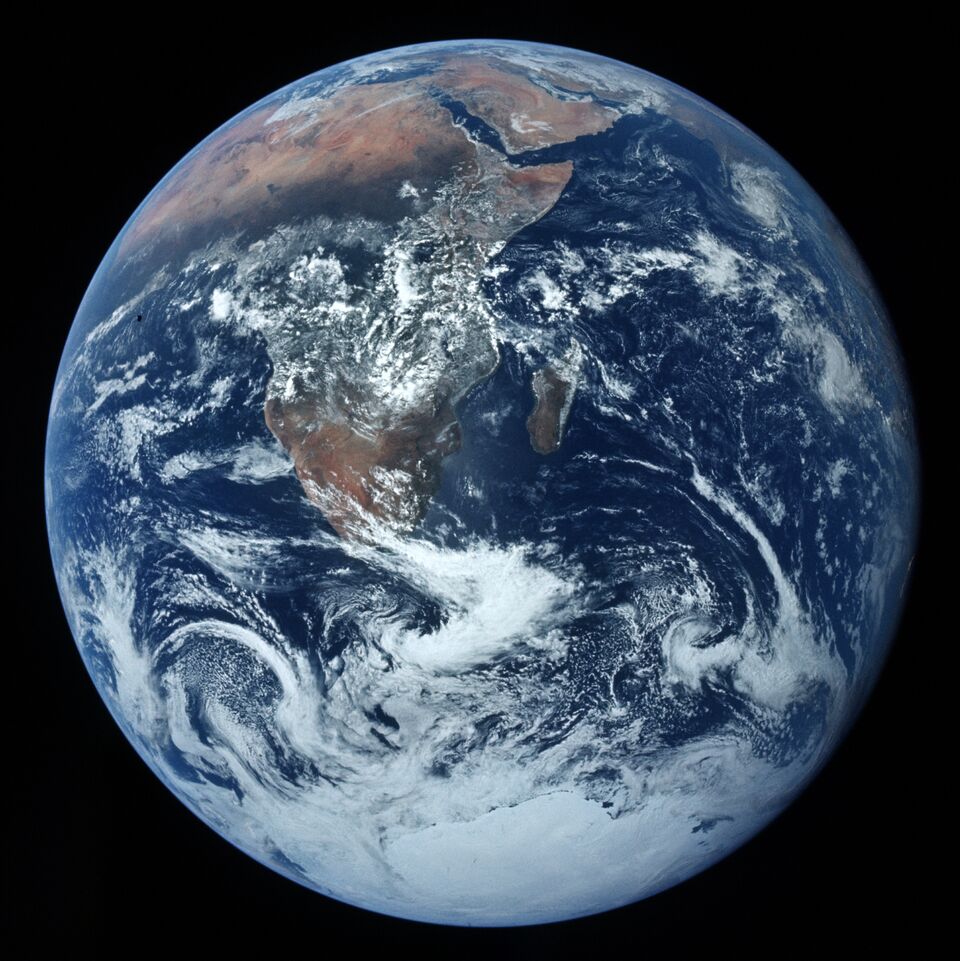
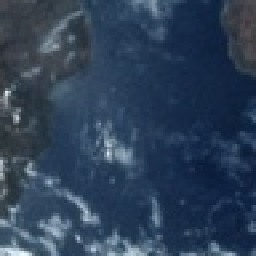
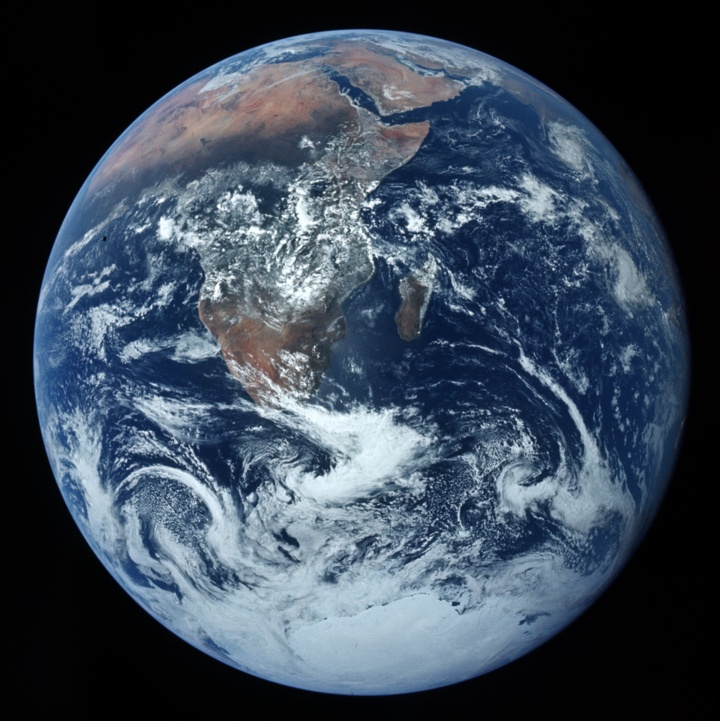
Only the middle file meets both a 200 KB limit and a 900-pixel minimum width. The 720-pixel export uses a higher quality setting but has fewer pixels. The same settings give different sizes on different photos.
Make a copy for the form
- Open the original in Preview on Mac or GIMP. Crop excess space only if the form allows it. Keep the required aspect ratio.
- To resize, use Tools → Adjust Size in Preview or Image → Scale Image in GIMP. Keep proportions locked. Changing DPI alone with the same pixel dimensions won't solve a byte limit.
- Export a new JPEG. Try quality 80 in GIMP or move Preview's quality slider slightly left. Check the actual file size. Aim below 200,000 bytes and repeat from the original if necessary.
Still rejected?
Check the file format and minimum dimensions. Renaming HEIC to .jpg doesn't convert it. Inspect hair, eyes or small lettering at 100%. If blocks appear, try a slightly smaller width at higher quality, within the form's limits.